Jun 30, 2019

Test Fit, Prime, and Paint

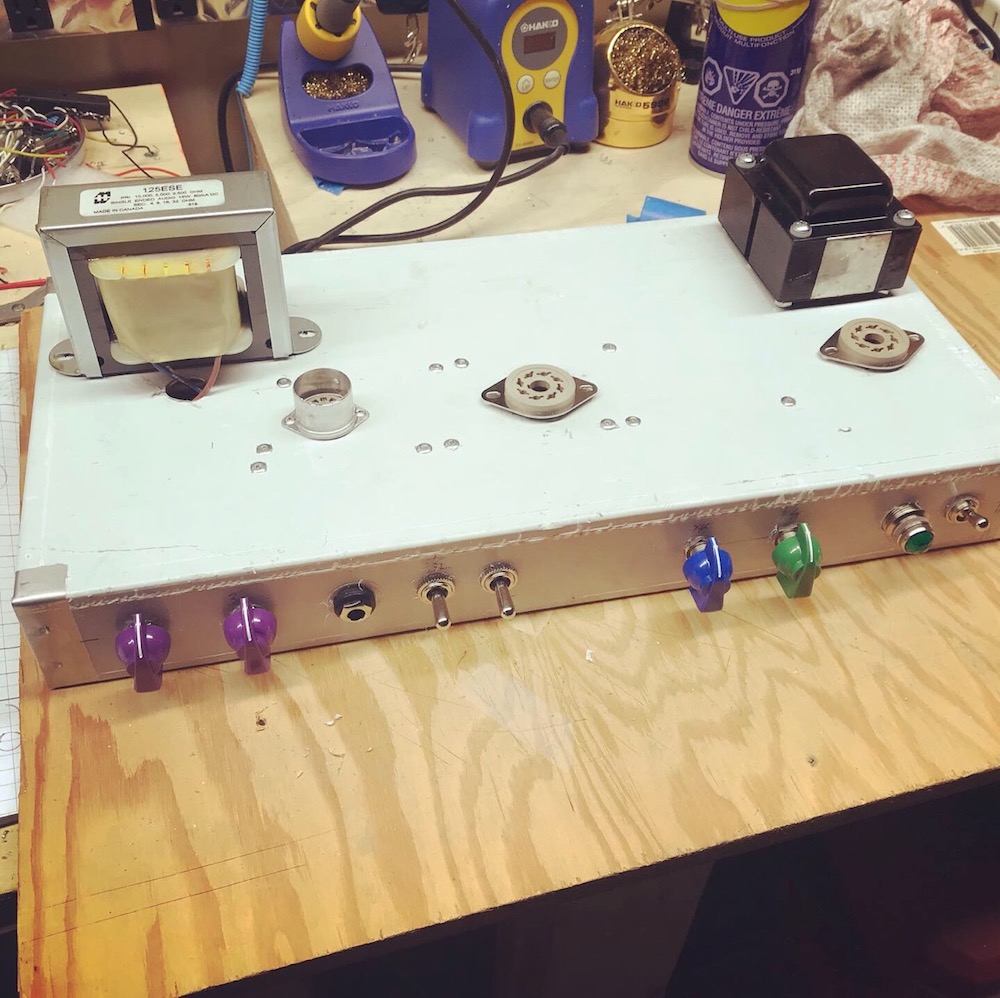
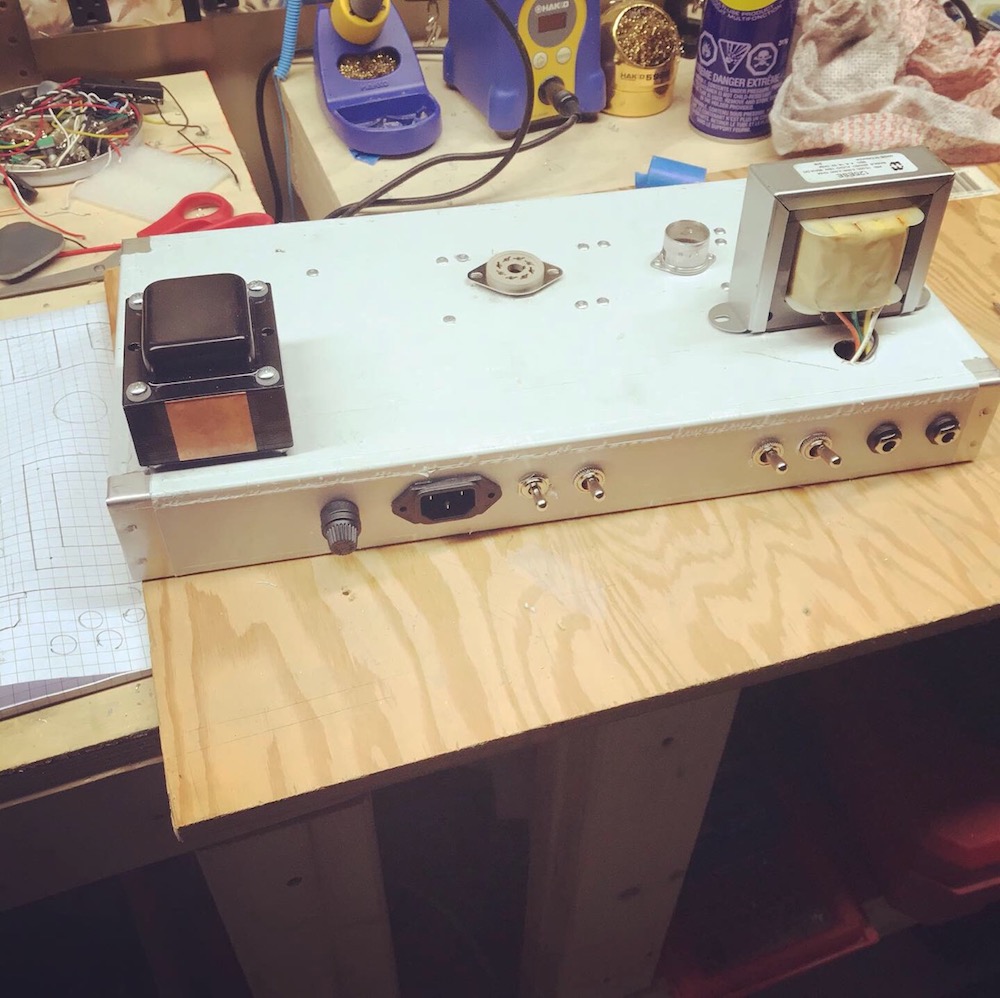
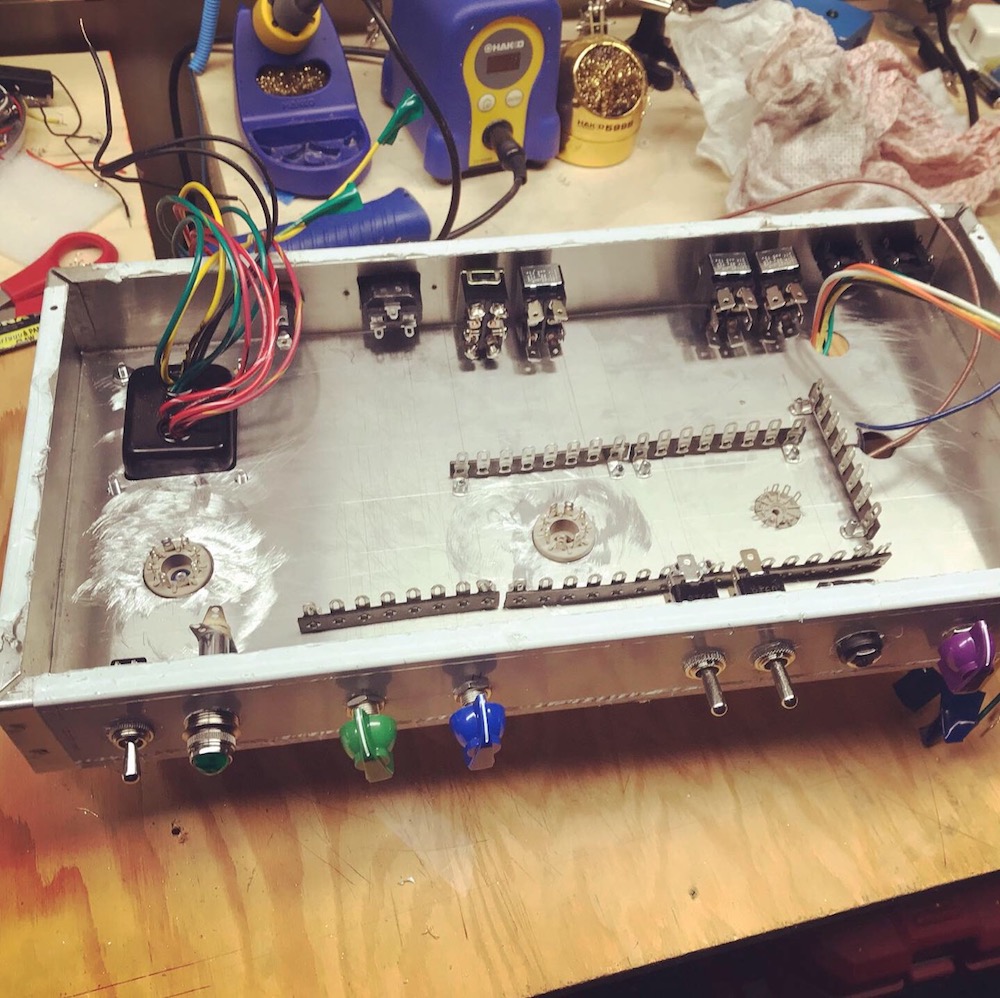
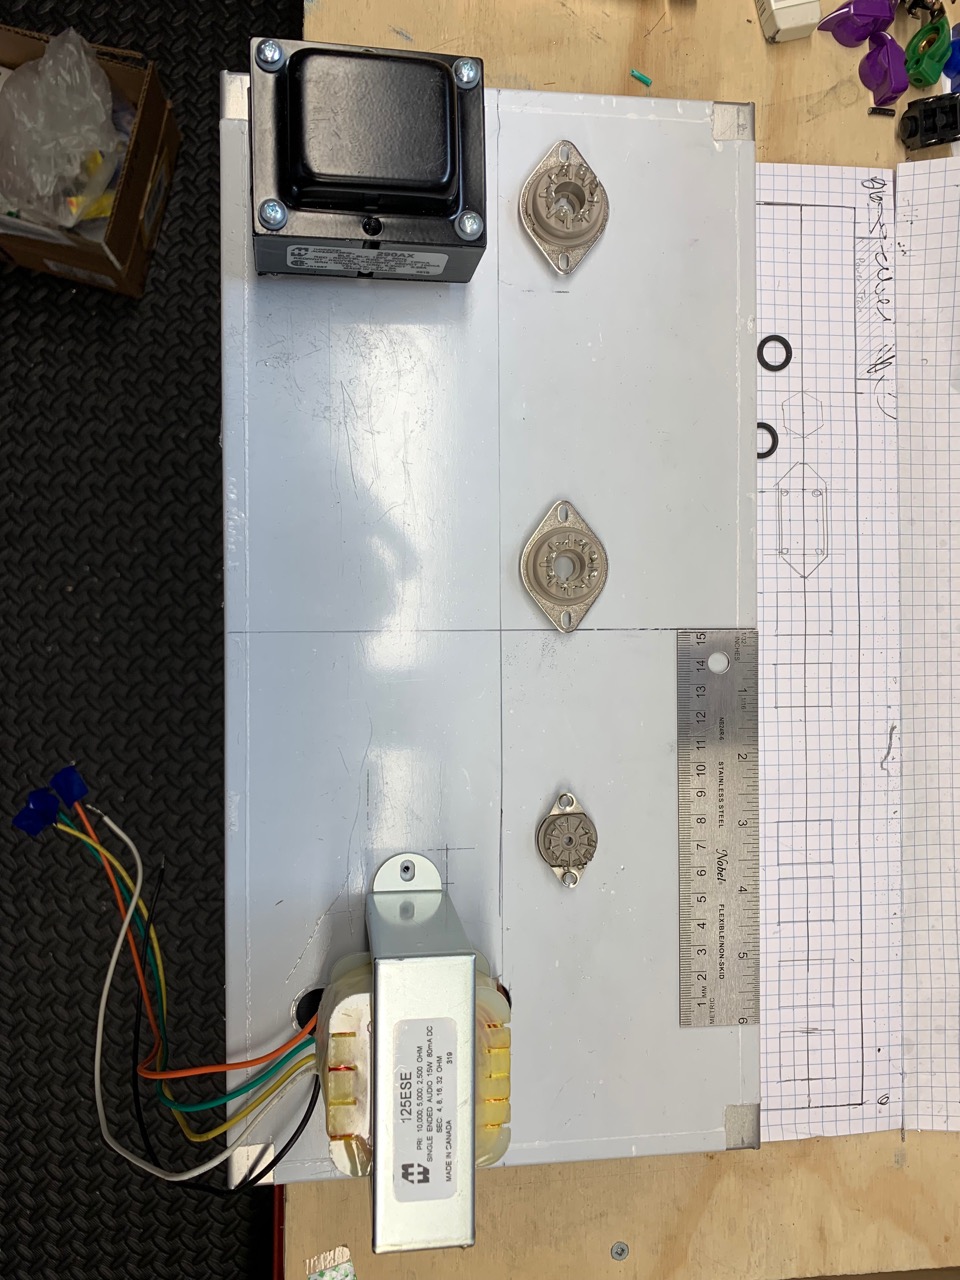
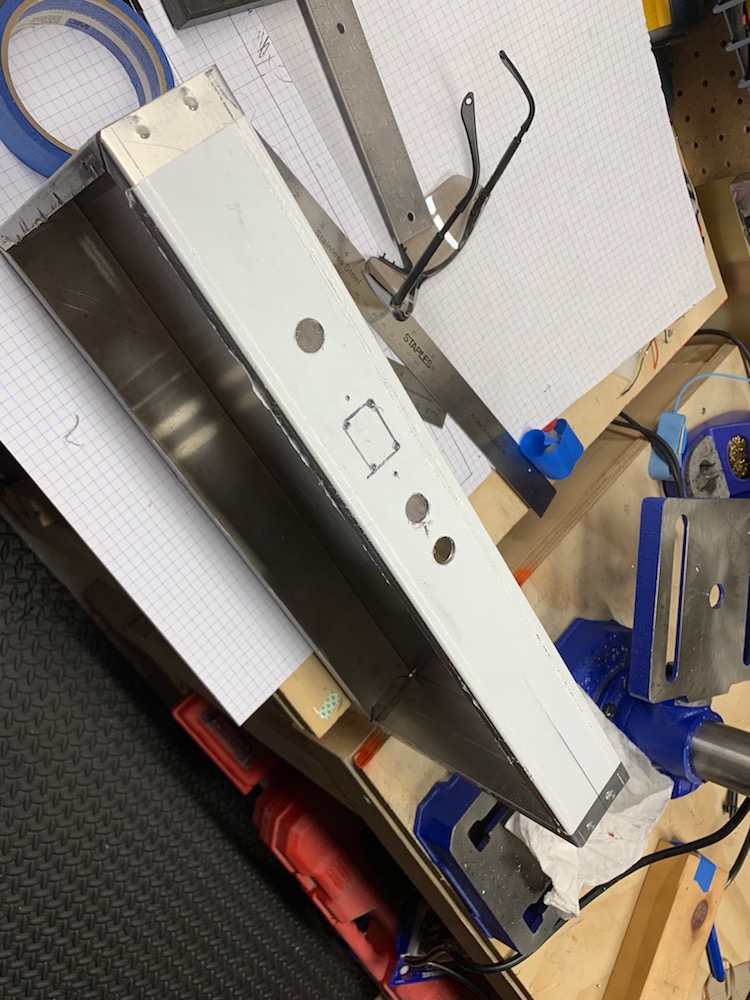
Test fitting the components into the chassis:

Front view


Back view


Inside view


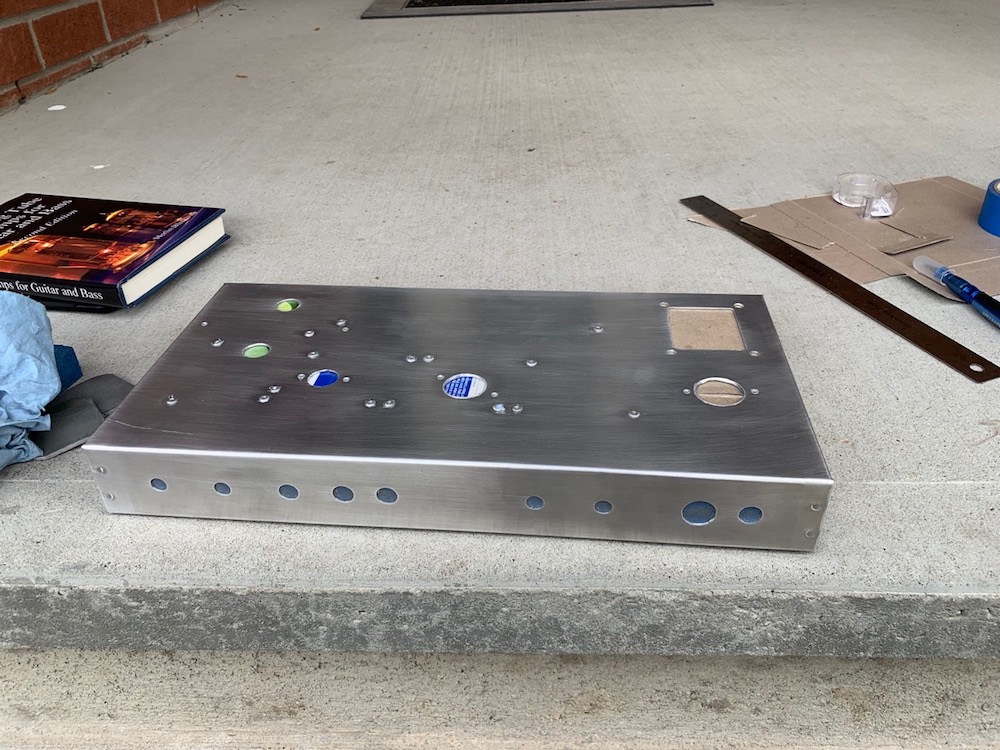
Removed the film, lightly buffed, rinsed with acetone, ready to prime


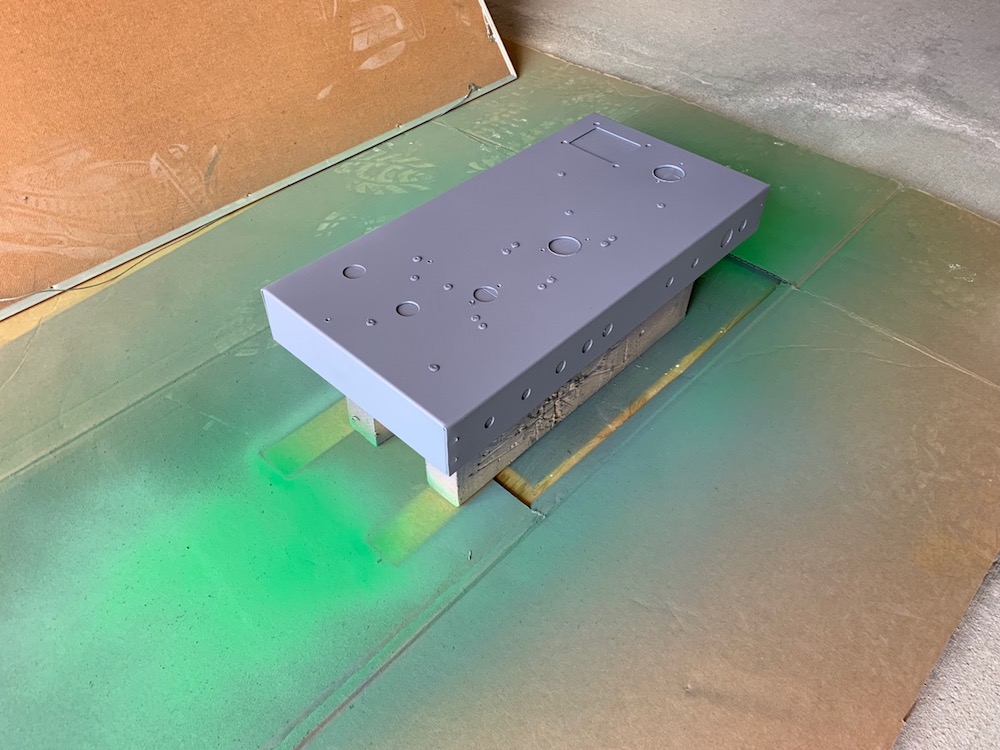
Primed (2-3 coats). Earlier I primed and painted the bottom plate as a test piece to get used the paint and primer.


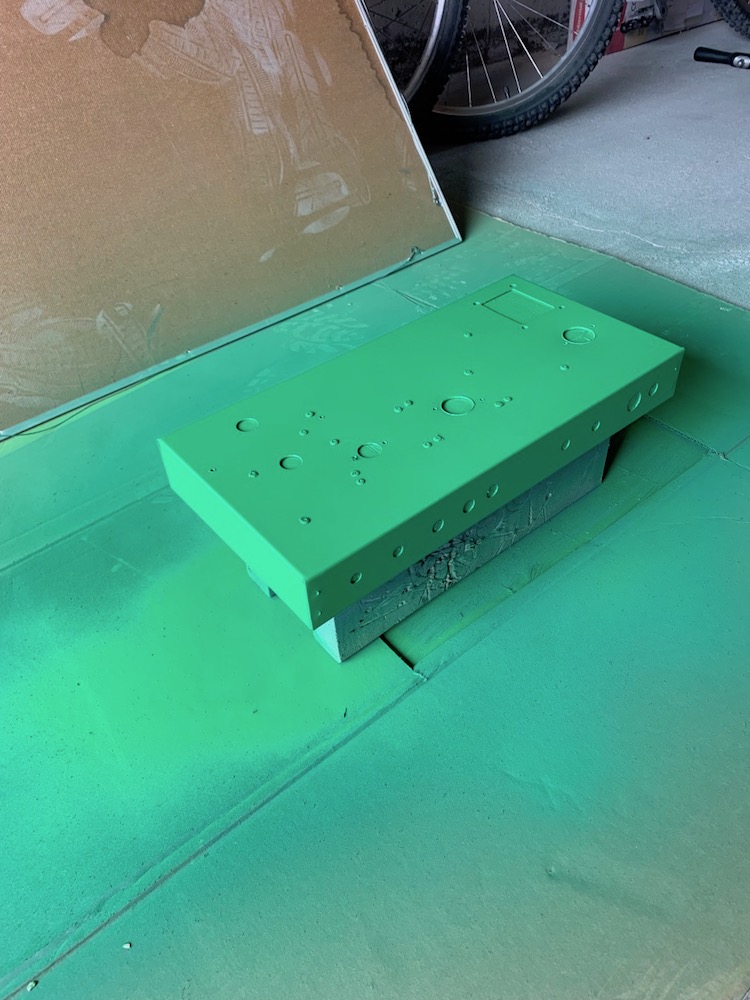
And one day later, painted (3 coats, about 5-7 minutes apart)


Prev:  Revised Schematic, Layout, and Mock-up
Next:

Jun 21, 2019

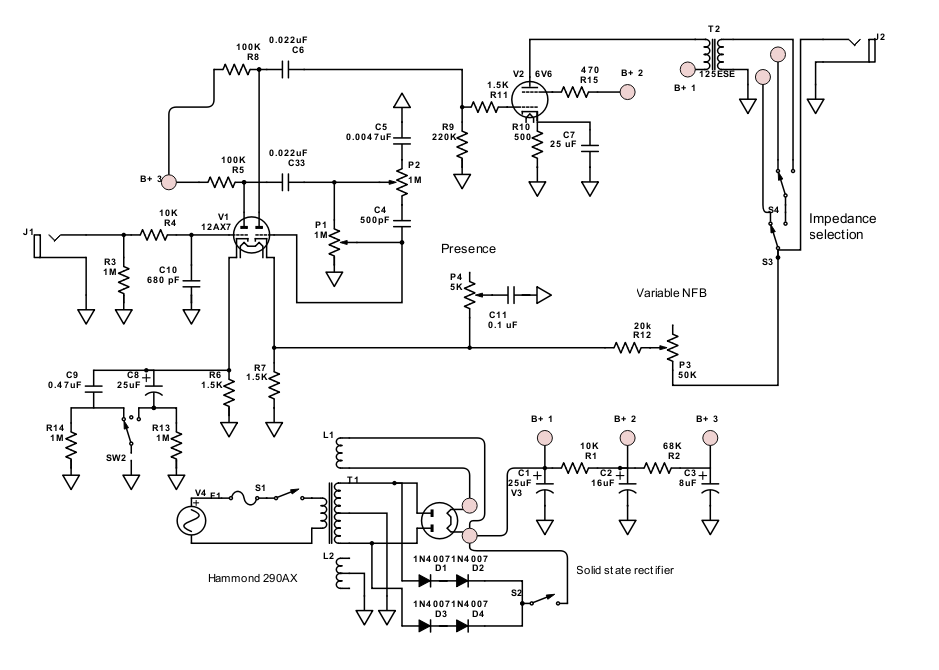
Revised Schematic, Layout and Mock up

Mods Status

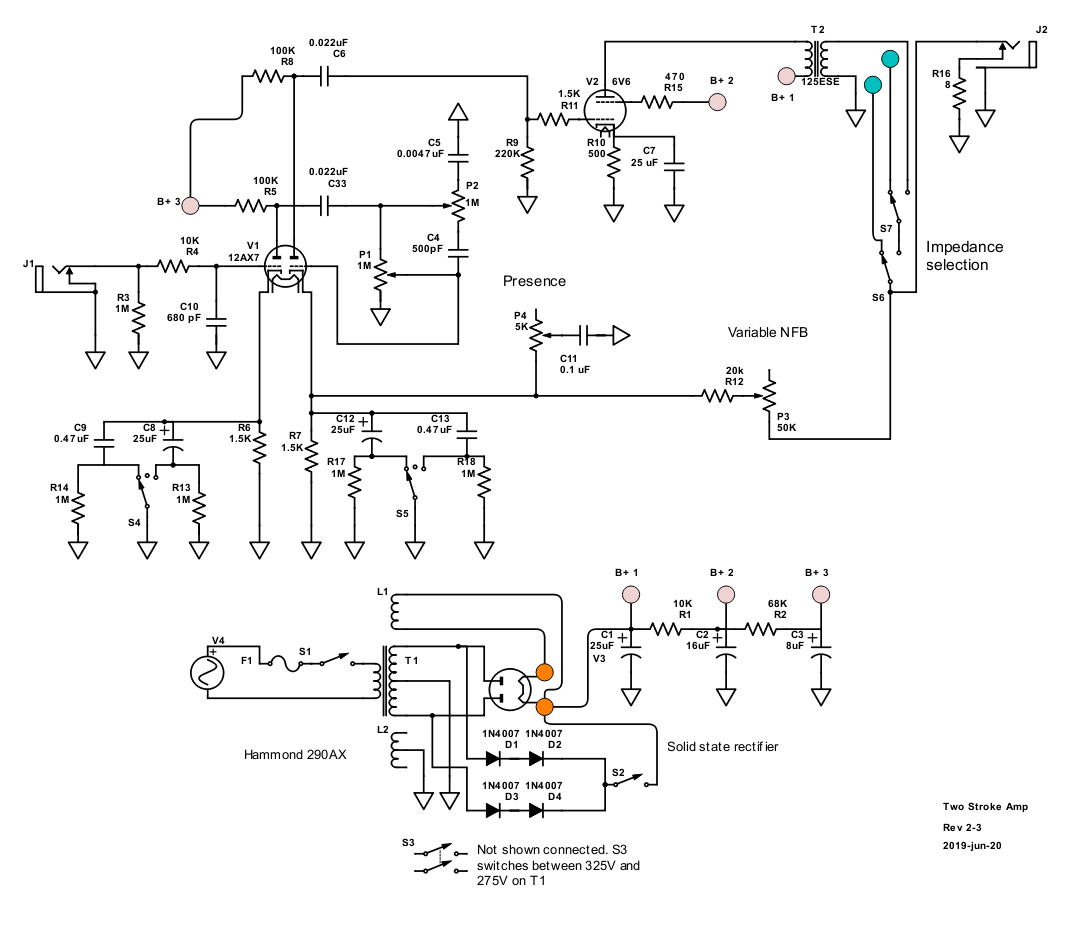
Mod-1. Added a 470Ω screen resistor to V2 (see forum discussion), .

Mod-2. Added some SPDT switches to pick 3 of the 4 output transformer impedances.

Mod-3. Change R4, the 68KΩ grid stopper on V1. I used the Merlin suggested 10KΩ + 680pF capacitor.

Mod-4. Variable negative feedback
Mod-5. Presence control.

This was suggested by @mhammer  and by watching  Uncle Doug: NFB and Presence.
I combined the two. If I understand correctly, the first pot controls the amount negative feedback, and the second will decide how much of the frequency gets rolled off.

Mod-6. Switchable Solid State Rectifier.
I saw this in a post and post  on the Tube Amp Network.

pending Mod-7.  @mhammer also suggested a neat mod where instead of voicing switch you replace it with a W-Taper hooked up to the 2 bypass caps so you could vary the amount of bypass.
I don't have the pot now, but there should be plenty of room to replace the switch in the future.

new Mod-8 Safety load on OT
With all that switching on the output of the transformer, you really need to put a 1000 ohm 3 watt resistor right on the output of the transformer. That way if a contact in a switch oxidizes in future & doesn't make contact, the transformer doesn't short a turn from excessive voltage.
(from indianajo)​

new Mod-9 Second cathode bypass
I would add a 25uF switchable cathode bypass to V1B for a 5E3 position.
(from RobRob)​

new Mod-10 Hi/Low voltage switch
The Hammond 290AX has two secondary high voltage options: 325V and 275V.
In Episode 13 of Truth about Vintage Amps podcast, Skip mentions that the 275V option is useful for making an amp sound like an older Champ.

Back Panel Switch note: All of the back panel switches should only be changed while the amp is off
  • Voltage Hi/Lo
  • Rectifier Tube/Solid Stae
  • Impedance selection


Revised Schematic - Rev 2-3


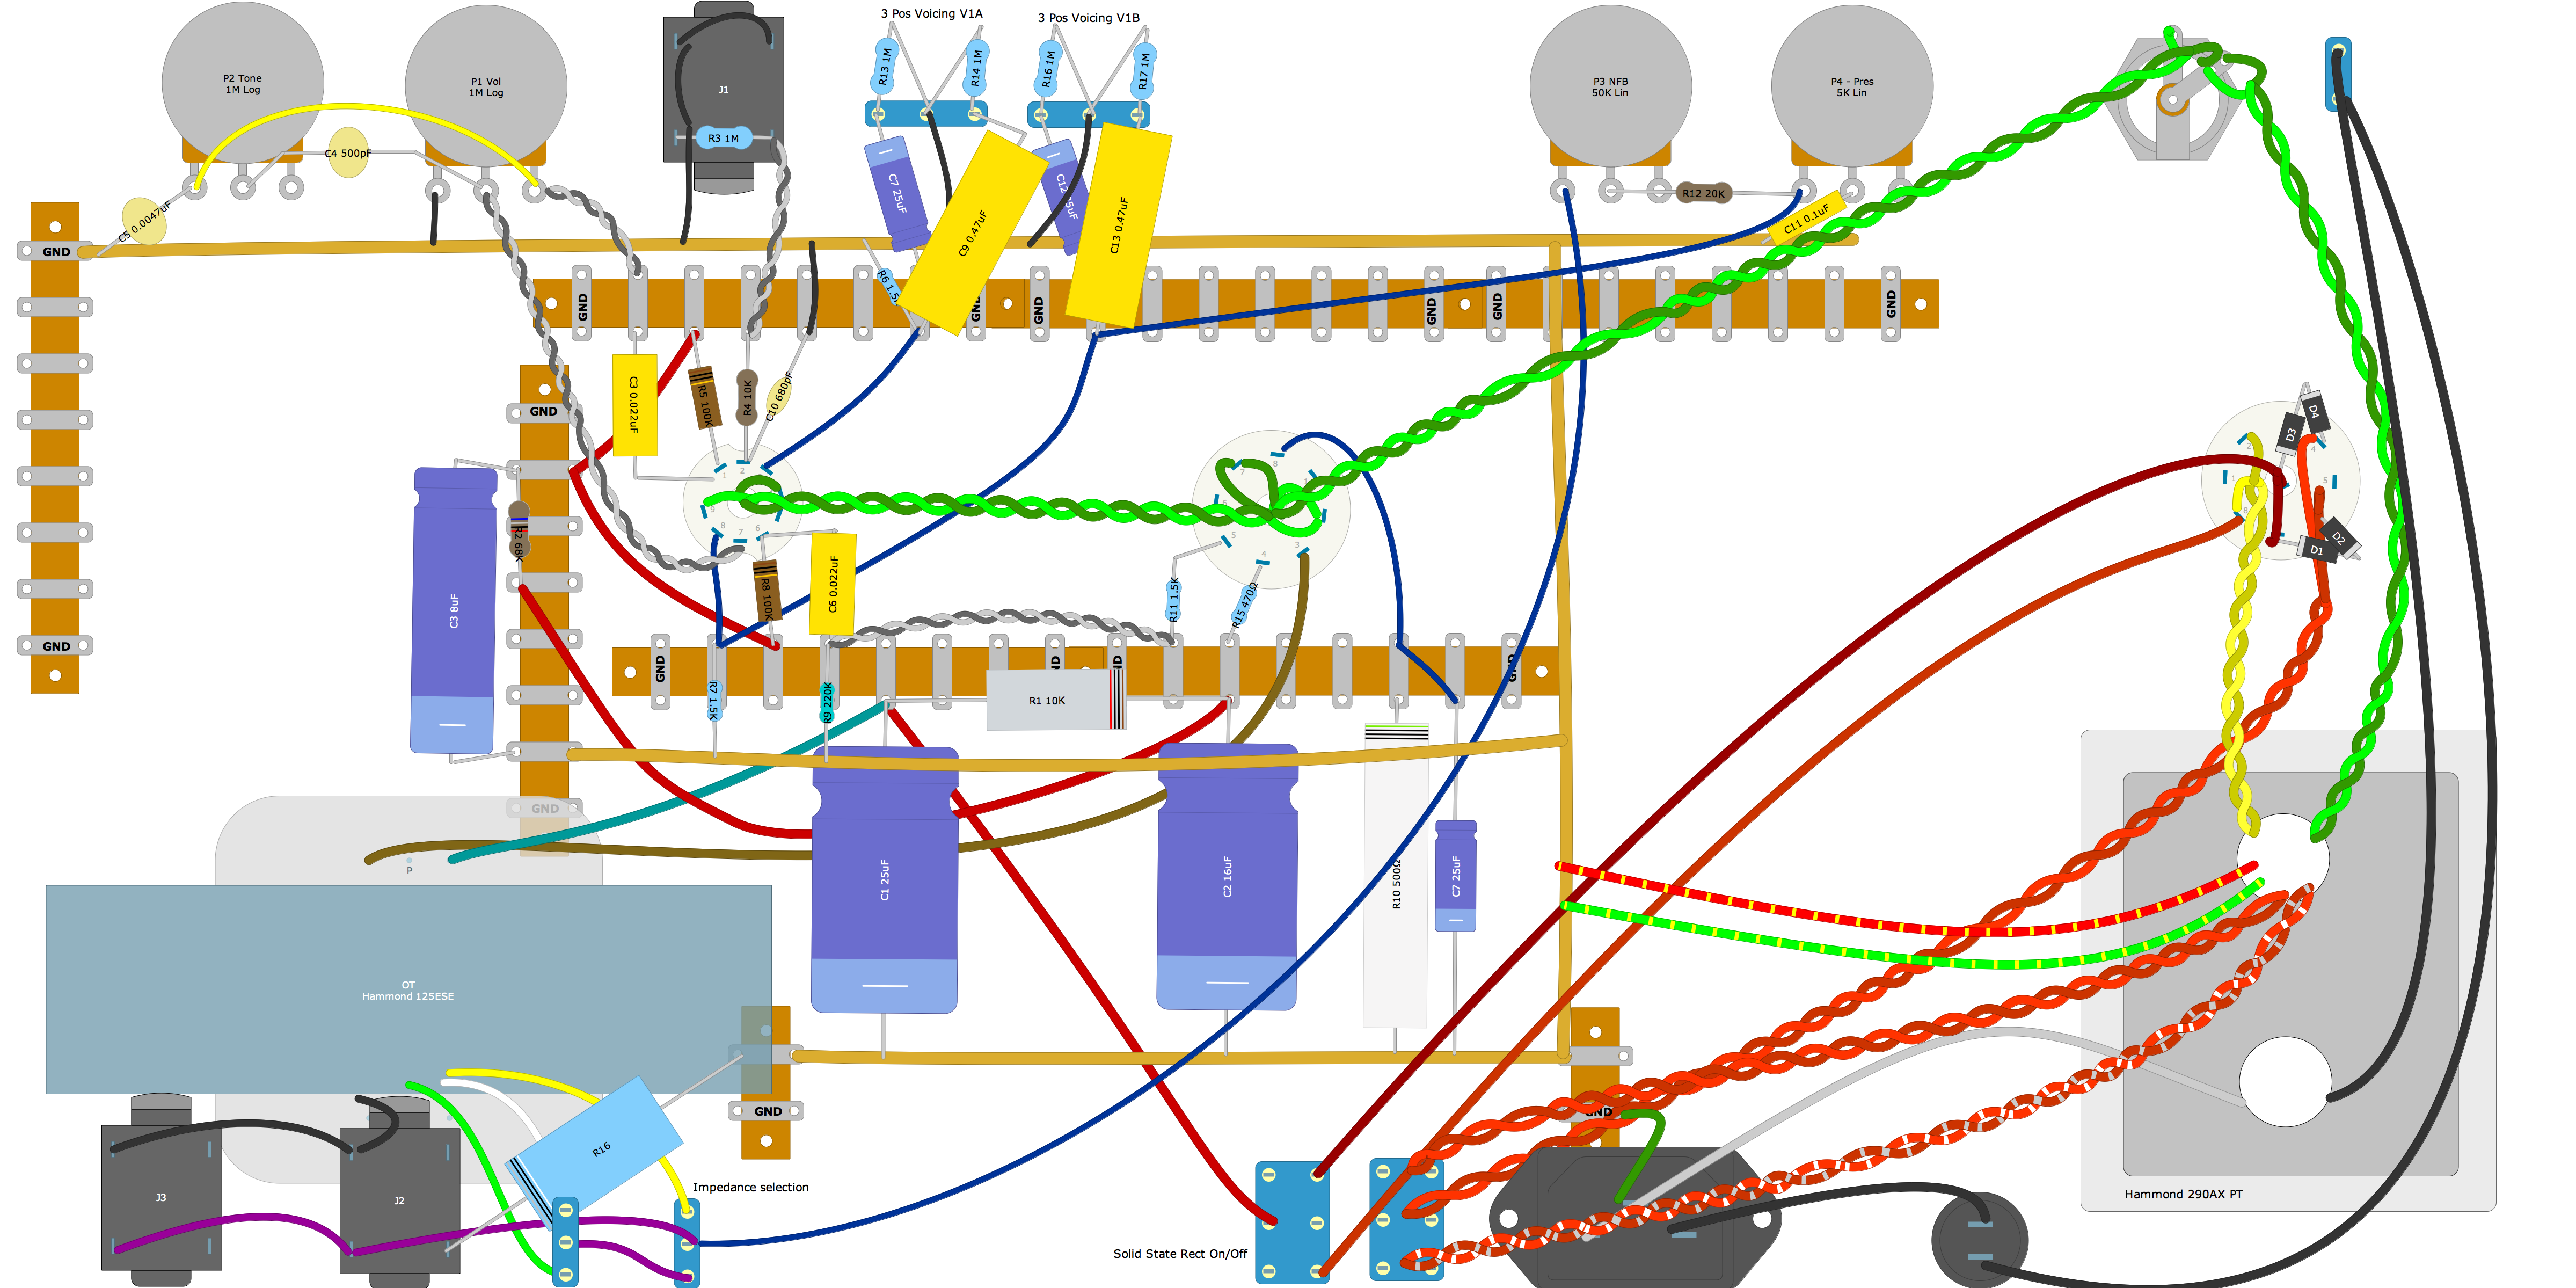
Revised DIY Layout


Cardboard Mock Ups

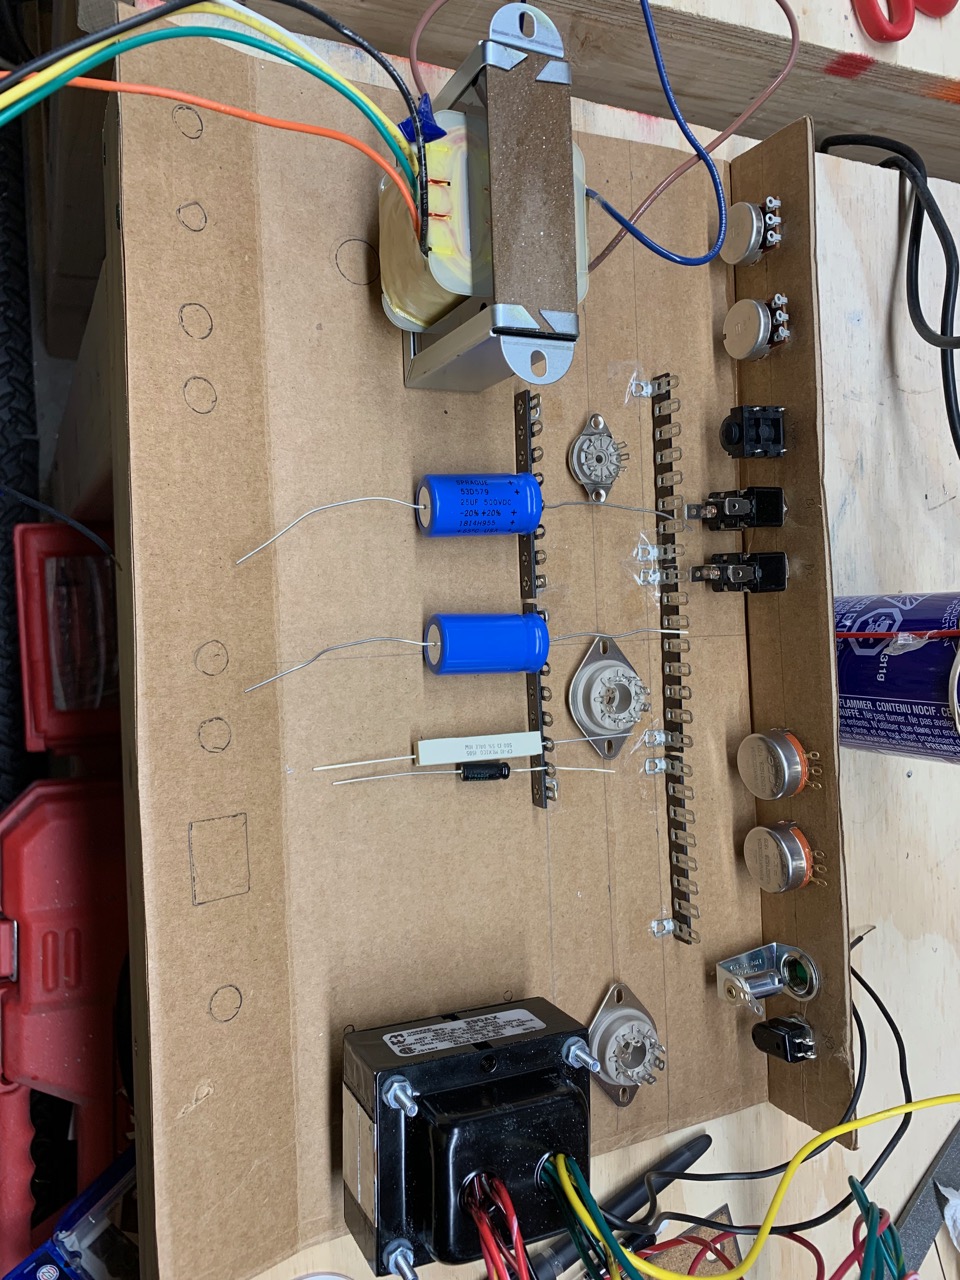
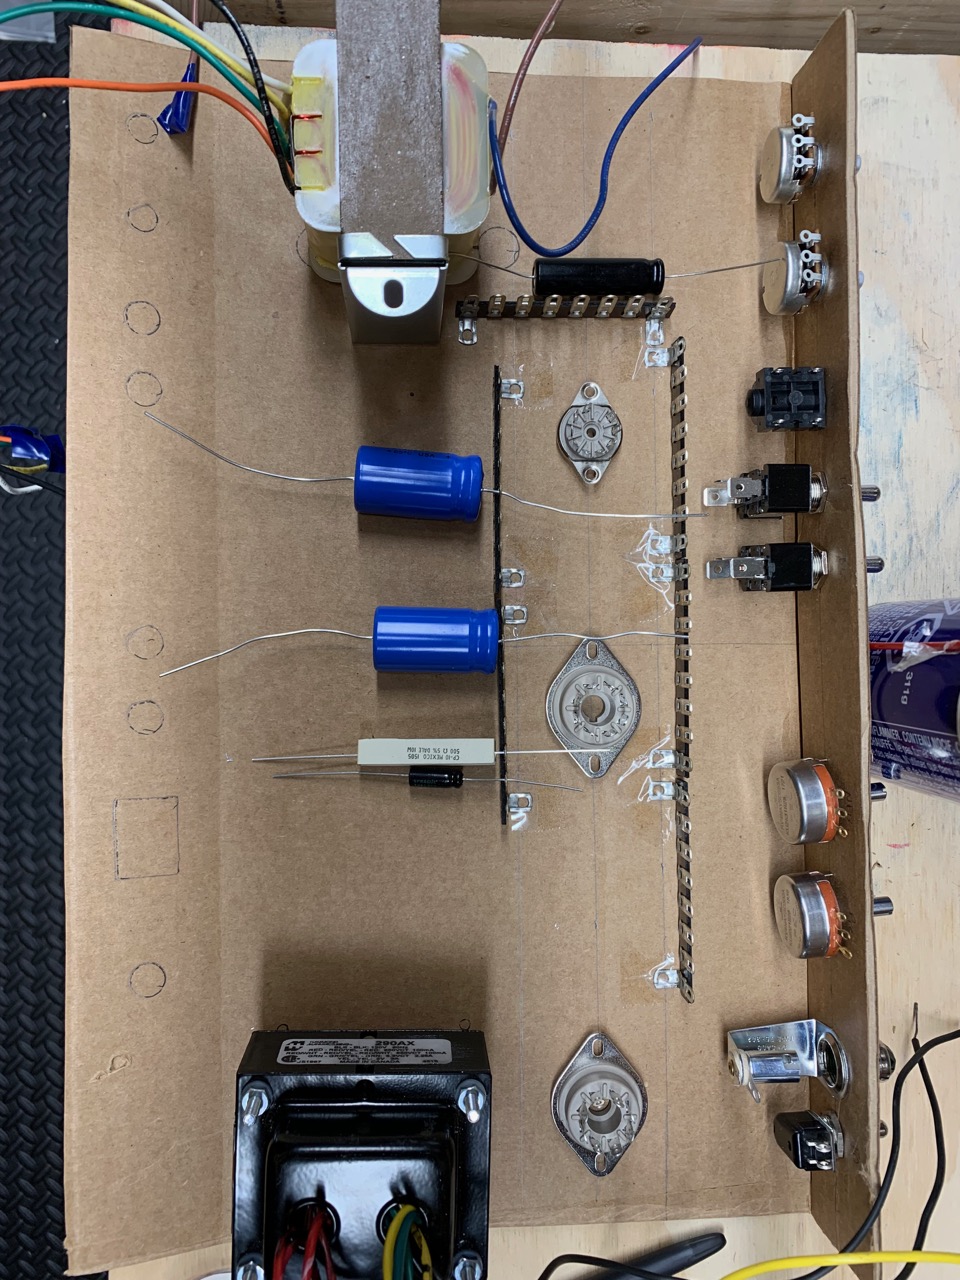
Before drilling wth front panel, tube sockets and terminal holes I started mocking up the amp in cardboard. 

Based on previous picture RobRob mentioned that although the output transformer was isolated from the power transformer, it was now close to V1. Based on the mock ups, I think it will be ok because:
  • its off to the side of the OT (although Morgan Jones does say that there is more leakage at the corners of the core)
  • I plan on using a shielded V1
  • I plan on using shield cable for the signal

Slight angle, looking from back to front


Top down


Tubes + Transformers

Laying out the tube sockets on top with the transformers (and using the approximate measurements from the mock up) I see something like this:


Some thoughts:
  1. I could go with the current layout and see what happens.
  2. I might be able to move the tubes about ½ inch closer to the front of the chassis (right now the tube centre line is 3 inches from the front).
  3. I could plug the existing holes for the OT and move it towards the PT. I could also move V1 as close as possible to right side of the chassis. I don't know if this will make much difference unless I move the OT very close to the PT. As JunoMike and OldJoat suggested I could look at making shield.


Jun 19, 2019

Back Panel

Hi/Lo Voltage Mod

new Mod-10 Hi/Low voltage switch
The Hammond 290AX has two secondary high voltage options: 325V and 275V.
In Episode 13 of Truth about Vintage Amps podcast, Skip mentions that the 275V option is useful for making an amp sound like an older Champ.

Back Panel Contents

With the amp in normal position, looking at the back, from left to right:
  • Fuse
  • Power outlet
  • 325V / 275V switch
  • Tube / Solid-state rectifier switch
  • Impedance switch 1
  • Impedance switch 2
  • Speaker jack 1
  • Speaker jack 2
Back Panel Switch note: All of the back panel switches should only be changed while the amp is off

  • Voltage Hi/Lo
  • Rectifier Tube/Solid Stae
  • Impedance selection


First I drew a horizontal centre line along the back.

Since I moved the Power Transformer close the back edge for support (see link), everything else had to scoot right

The Output Transformer is not that close to the back edge so we still have lots of room for the speaker jacks.

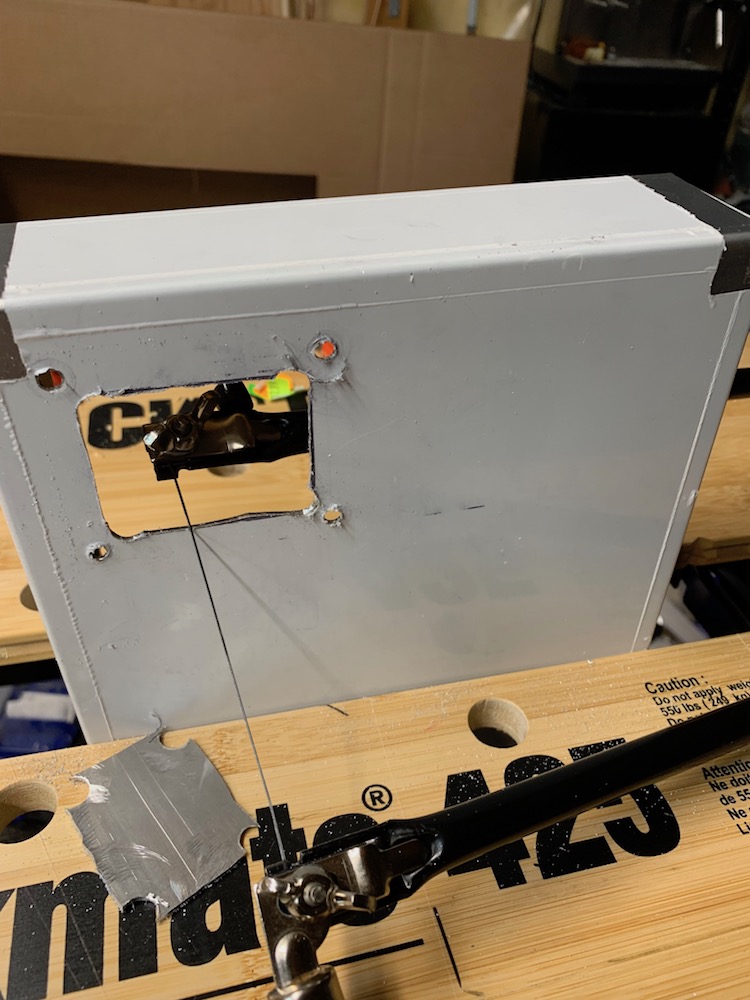
The power outlet is another rectangle. This one was tricky to cut with the fret saw because it's close to the top of the chassis.

Here's the start of the layout:


Here is a test fit of the components so far:


Jun 18, 2019

Output Transformer

Positioning

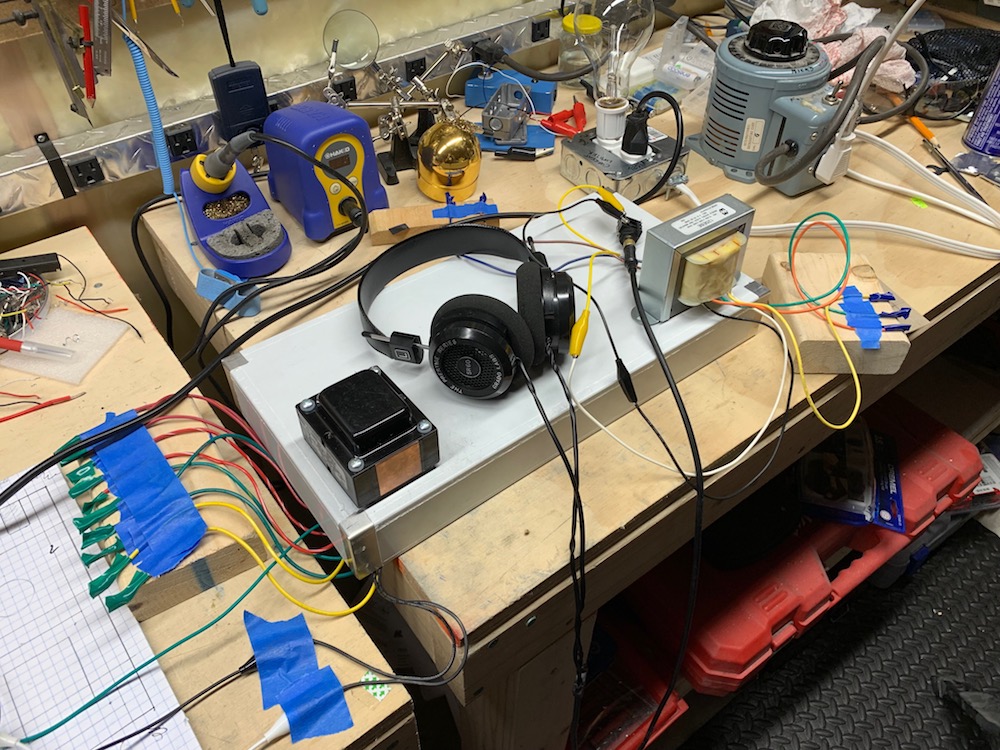
Although I was reasonably sure the opposite side of the chassis was the best place for the output transformer (in turns of noise and support) -- I figured it would interesting to try the headphone trick to check.
  1. I taped off and tied down all the extra leads from the Power Transformer (PT) and the Output Transformer (OT).
  2. I jumpered in power to the PT's black leads.
  3. I jumpered in ¼ jack to the black and white leads of the OT. 
  4. I pugged in my headphones to the ¼ jack.
  5. I plugged my variac into the wall. I made sure it was off and turned down.
  6. I plugged my current limiter into the variac.
  7. I plugged my OT into the current limiter.
  8. I turned on the variac and slowly brought the power up 120V.
  9. I started moving around the OT and listening to the different levels of hum depending on the proximity and orientation to the PT.

Here's the test setup


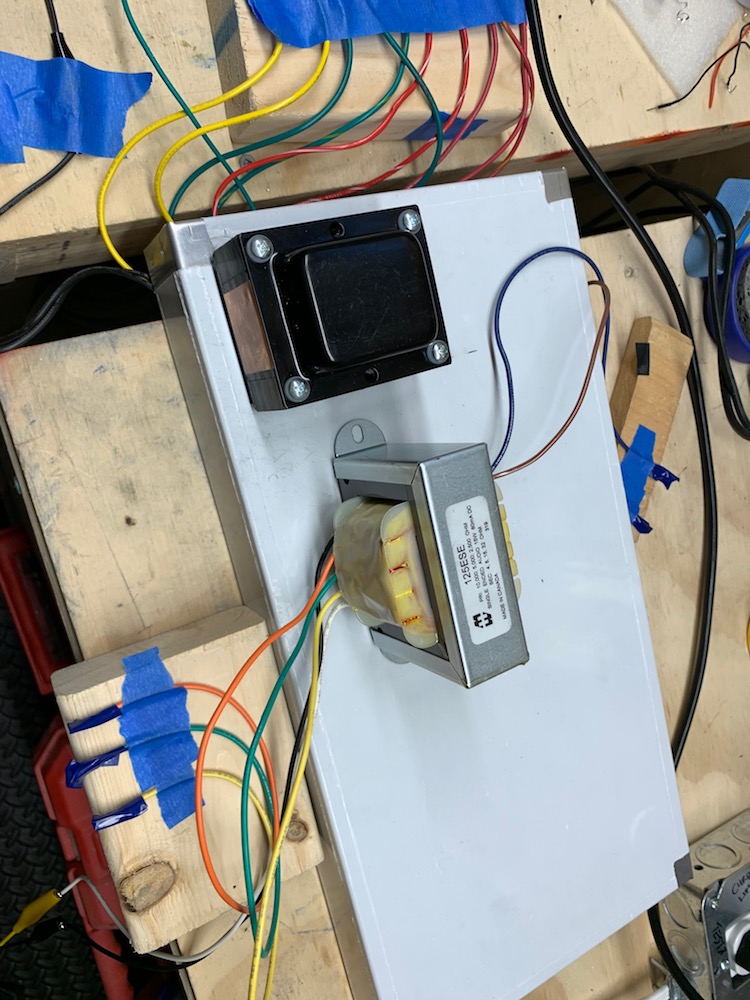
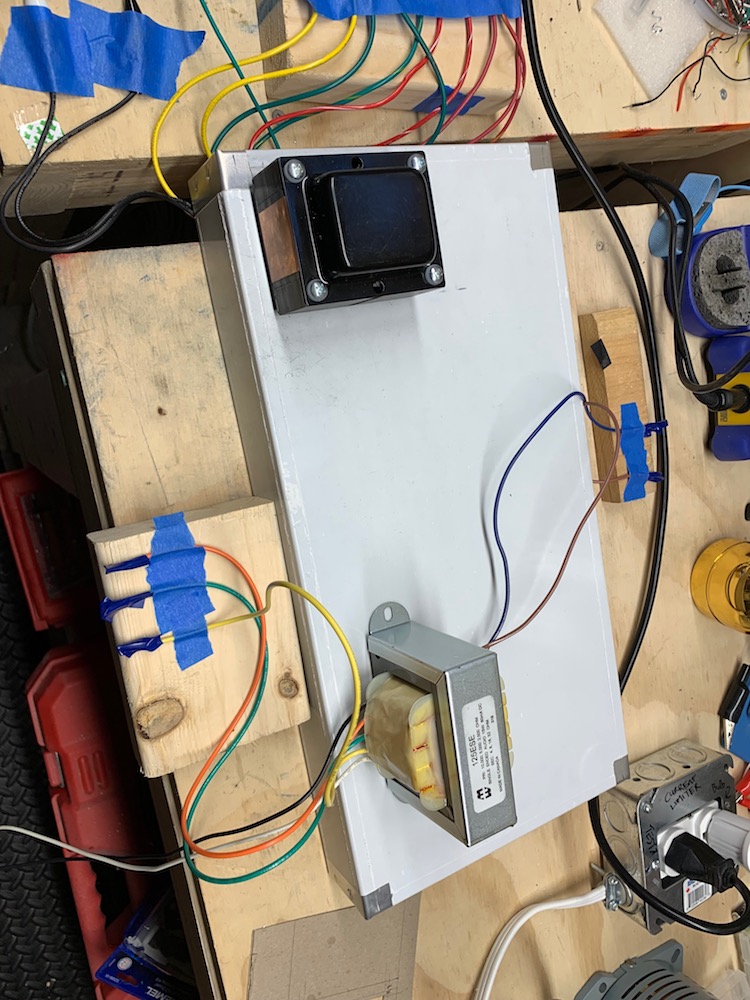
There was a lot of hum in this position


As expected, this position seemed to offer the least hum


I tried various angles but this orientation and position seemed the best.

PrevPower Transformer
NextBack Panel

Power Transformer

Power Transformer

I knew where I wanted the power transformer - close to the back and to one side. This way it could be far away from sensitive components (i.e., input) and it would get support from being near two edges.

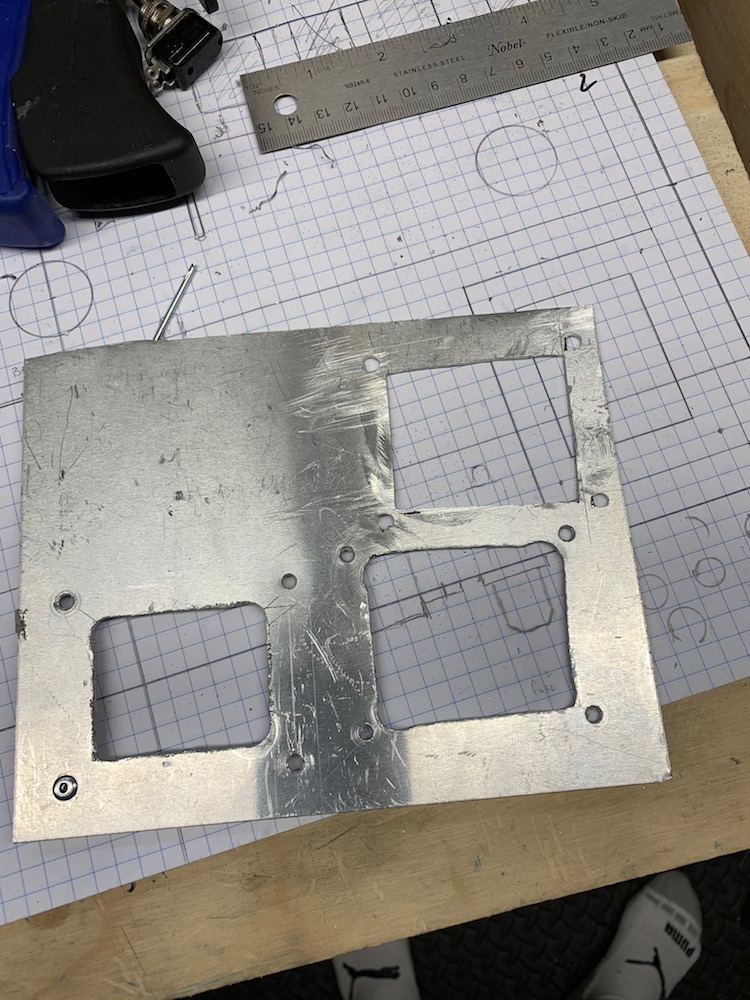
I practiced cutting the rectangle out on some scrap with a drill and fret saw.


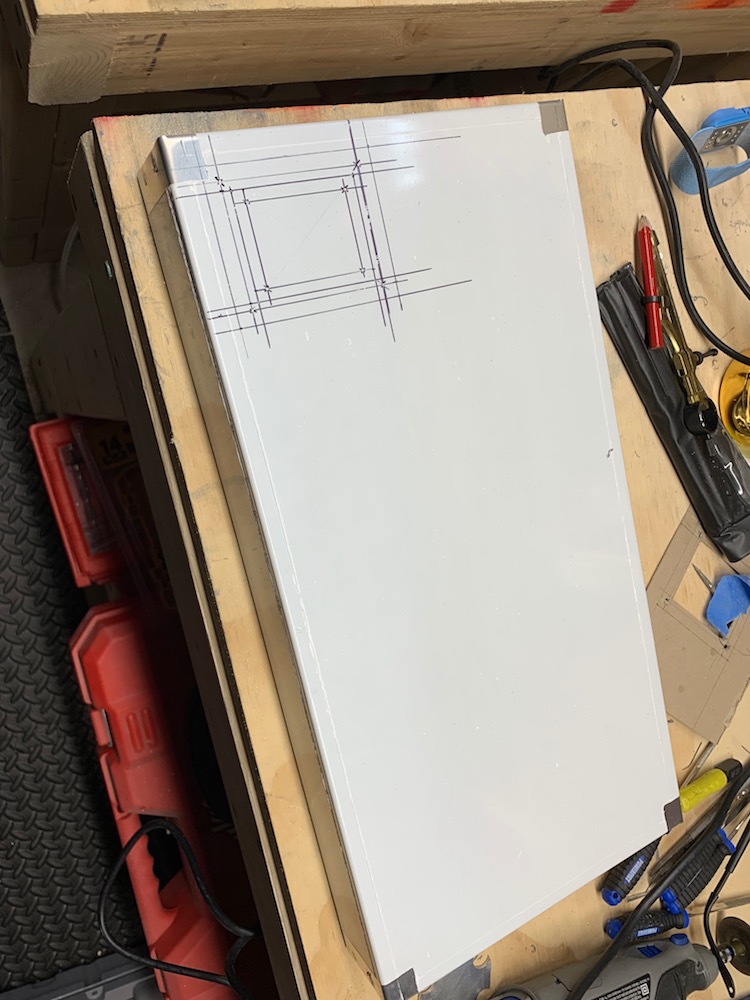
Then, using the transformer, I drew drilling guides on the chassis for the cut out and the mounting studs.


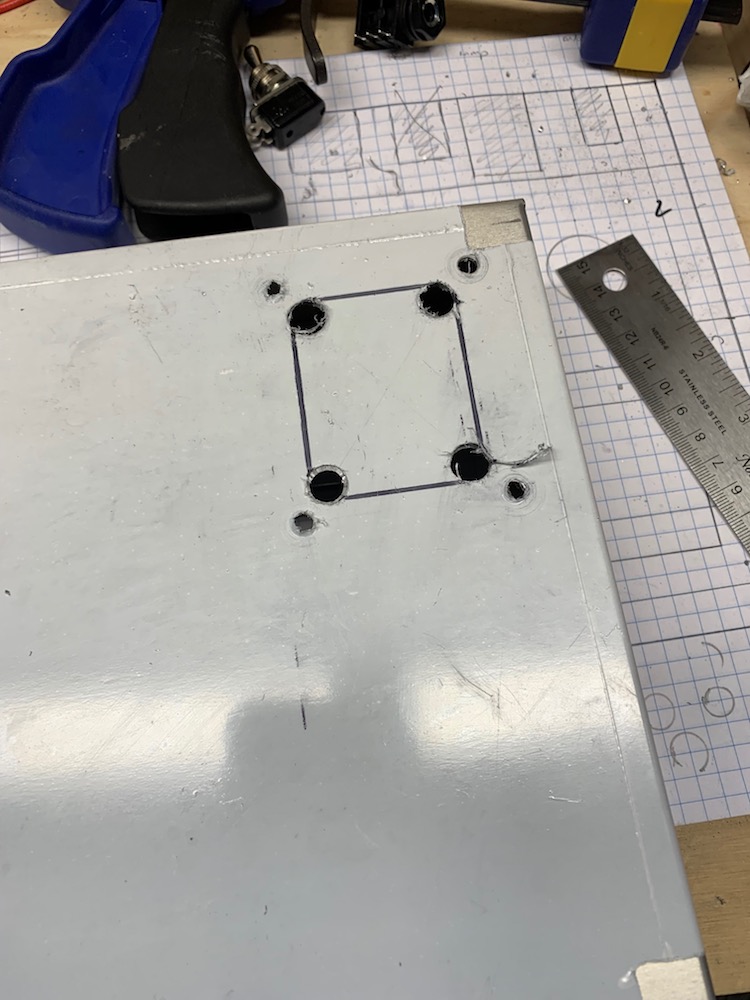
Using a step bit I drilled the larger cutout corners and drew lines to follow with the saw.


Using the saw I cut out the rectangle and later filed it smooth


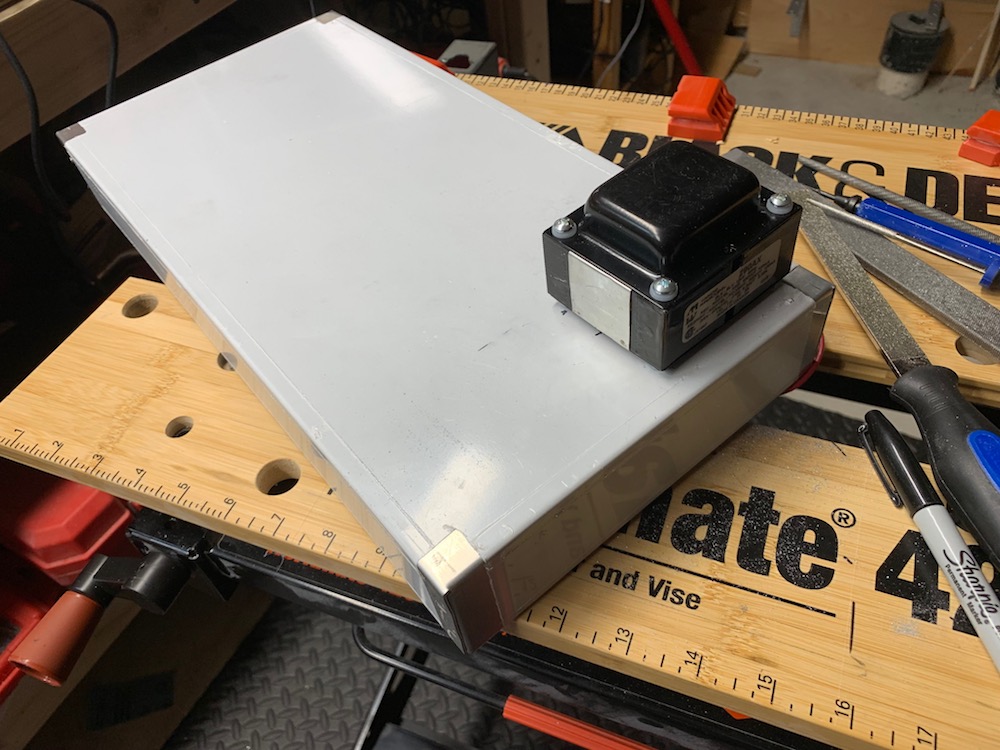
Then I test fit the transformer.


PrevSchematic 2.1
NextOutput Transformer


Jun 12, 2019

Revisions: Schematic 2.1

Gnobody on diyAudio noticed a mistake with the presence pot in schematic 2

This will not work in quite the way you expect. Both R12 and your 50k feedback adjust pot have much bigger resistances than the 5k presence pot. This means that changes to the feedback will also cause changes to the frequency response,a s though you had turned the presence pot; your adjustable negative feedback will turn into (unintentional) adjustable frequency response.

Here is the revised schematic 2.1


Some other suggested mods:

pending Mod-8 Safety load on OT

With all that switching on the output of the transformer, you really need to put a 1000 ohm 3 watt resistor right on the output of the transformer. That way if a contact in a switch oxidizes in future & doesn't make contact, the transformer doesn't short a turn from excessive voltage.
(from indianajo)​

pending Mod-9 Second cathode bypass

I would add a 25uF switchable cathode bypass to V1B for a 5E3 position.
(from RobRob)​

I have to read up on both of these mods. I like the idea of the safety load. In a similar vein I also like the idea of a few more fuses to protect more expensive components.

PrevLayout and Schematic Rev 2
NextPower Transformer

Jun 5, 2019

Layout and Schematic - Rev 2

After lots of great feedback from the folks at the Canadian Guitar forum, diyAudio, and TDPI I have:
  • a new chassis size and material consideration
  • an expanded list of modifications
  • new schematic
  • new layout


Chassis

Size: Bigger!

Many folks expressed concerns with my proposed 12" x 8" x 2" chassis.

They are right. As much as I love the look of the Greer Mini Chief or Benson Vinny - I should go bigger.

This is my first build -- it's easier to build when you have more room.

This is kind of an experimental, hot-rod, tinkerer build -- it's not meant to look pretty. It's meant to learn from and use as platform for experiments.

So ... I will bump up a size to 16" x 8" x 2" chassis.

Material: Aluminum?

From the link, you'll see the chassis is aluminum.
Aluminum has many advantages for the chassis. It's easier to work, it's non-magnetic, etc.

However, some good folks went a bit further and and checked the manufacturer's specs. The chassis is made out of 1.3 mm or 0.051 inches aluminum. This may be too thin considering the transformers.

My plan is to order the chassis and see.
If it is too flex-y I can stiffen it with some aluminum channels -- as long as I keep that in mind when laying out the amp ;-)


Modifications

Mod-1. Added a 470Ω screen resistor to V2 (see forum discussion), .

Mod-2. Added some SPDT switches to pick 3 of the 4 output transformer impedances.

Mod-3. Change R4, the 68KΩ grid stopper on V1. I used the Merlin suggested 10KΩ + 680pF capacitor.

new Mod-4. Variable negative feedback
new Mod-5. Presence control.

This was suggested by @mhammer  and by watching  Uncle Doug: NFB and Presence.
I combined the two. If I understand correctly, the first pot controls the amount negative feedback, and the second will decide how much of the frequency gets rolled off.

new Mod-6. Switchable Solid State Rectifier.
I saw this in a post and post  on the Tube Amp Network.

pending Mod-7.  @mhammer also suggested a neat mod where instead of voicing switch you replace it with a W-Taper hooked up to the 2 bypass caps so you could vary the amount of bypass.
I don't have the pot now, but there should be plenty of room to replace the switch in the future.

Speaking of W-taper pots, I found an interesting page in Spanish which sounds like it allows you to simulate the pot with regular pots and resistors.
  

Schematic

Here's the revised schematic using SchemeIt


Layout

R.G. Keen's article had some great point-point tips.
Here's the next layout.

Note: I changed the orientation -- you are now looking at the amp from the bottom as opposed to looking through the top.

Why?

  • This way seems to match the tube pin number order in the software
  • It is what it will look like when I am building the amp