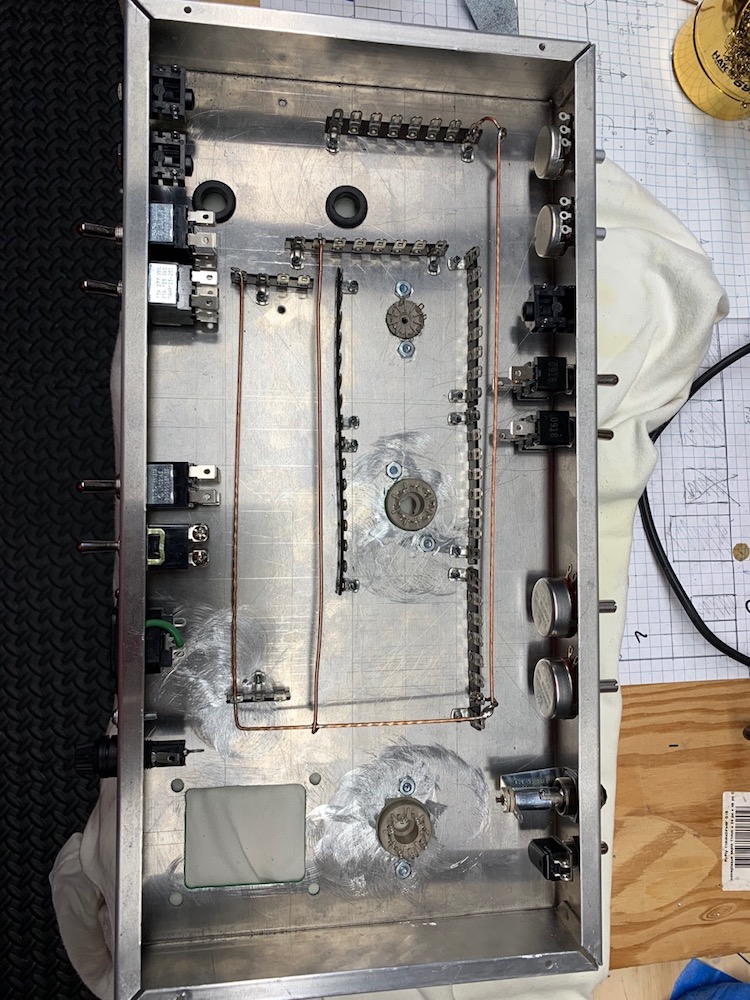
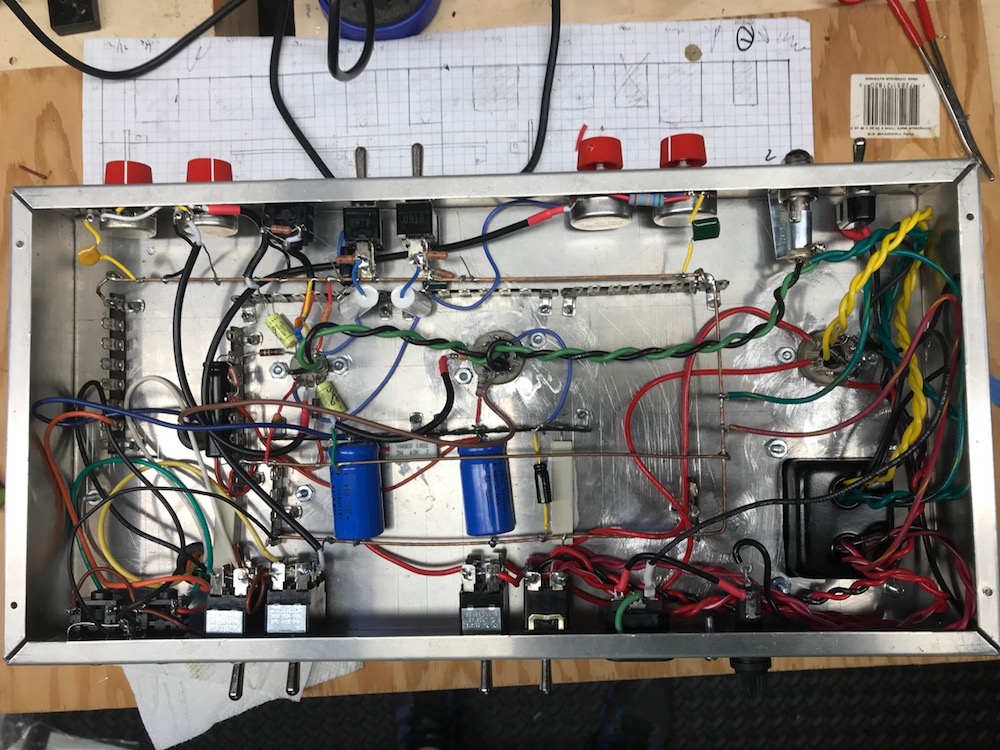
Jul 22, 2019

Assembly Complete - On To Testing

Soldering Finished


Visual Inspection

Check solder joints.
Check polarized capacitors.
Check diodes.
Check input ground.
Check output ground.
Check power ground

Gradual Start Up

Based on RobRob's amp start up procedure

Using current limiter into a variac.
Power up gradually with the rectifier.
Add the preamp tube.
Add the power tube.

Measure voltages and plate dissipation (see UncleDoug)

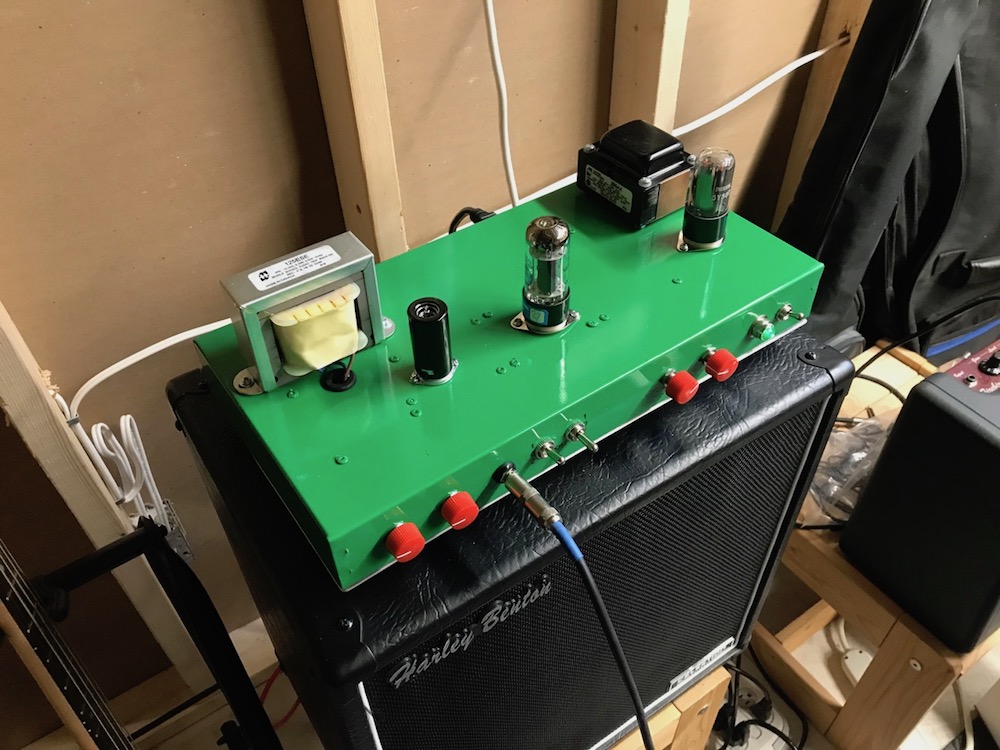
Powered On! Plugged In!


Jul 6, 2019

Label, Clear Coat, and Grounding

I used Rub-on Dry Transfer letters to label the amp and then applied several coats of clear in one session, a few minutes in between coats


After letting the clear coat cure for 24 hours I bolted on the fixtures.

Next, using the technique from Blueglow Electronics I made the grounding bus and attached it:


Prev: Test fit, Prime, and Paint